An old monitor can be turned into a pretty decent computer and gaming machine. It is a fun project to do with kids.
Parts and Materials
- Raspberry PI Model 3 B – $40
- Ableconn HDMI2VGAD Active HDMI to VGA Adapter Converter Dongle – $15
- 4GB to 32GB microSD card – $5-$10
- VGA monitor – usually free, preferably LCD to conserve electricity. Find out the resolution (like 1024 x 768) by searching the model number.
- USB power adapter & mini USB cable
- USB keyboard and USB mouse
- Glue gun, small screws, and small pieces of wood or plastic
- Optional for gaming – SNES Retro USB Super Nintendo Controller For Windows PC/MAC – eBay $6
Steps
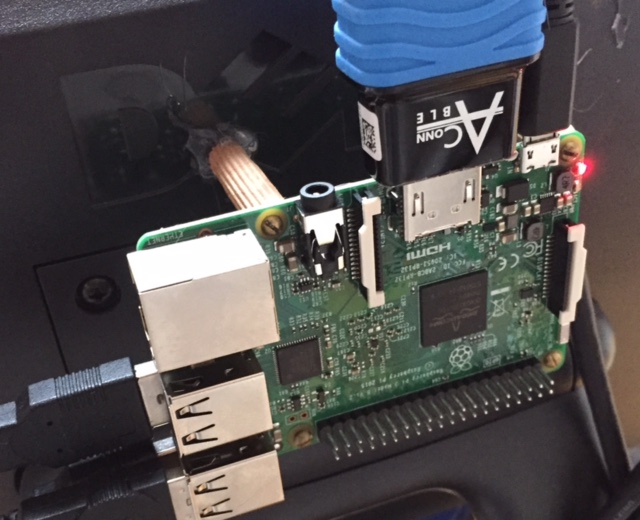
- Mount the Raspberry PI on the back of the monitor using risers, screws and a hot glue gun. See photo. There are cases available but this way makes the device accessible and low cost.

Hot glue holding on PI to back of the monitor with wooden dowels
- On another computer, install a free program called Etcher. This software will allow you to install a Raspberry PI image on to the microUSB card.
- Go to the Raspberry PI website and download NOOBS (for new people) or Rasbian (a full-featured computer). Use Etcher to install the image file onto the micoSD card.
- Raspberry PI expects the monitor to be HDMI but in this case it will be USB. Edit a file on the microUSB called config.txt. All of the settings are commented out using the # sign.
- Remove the # from the line that says hdmi_safe=1 to enable the safe mode
- We are going to edit this file again in the future but let’s first see if everything works.
- Plug everything together with the last thing being plugged in is the USB power supply. See the PI Hardware Guide for instructions and pictures. Note steps 2-4 are similar to the software guide but easier.
- Power up and you should see a working computer in about a minute.

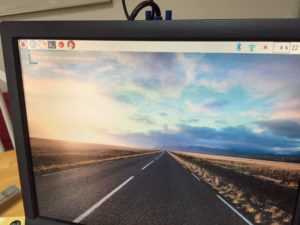
Raspberry PI running in low resolution
7. It is likely the resolution is lower than the monitor supports (i.e. things are large). This step is a little more complicated and requires you to know the native resolution of your monitor. In this case, the resolution is 1024×768. You will need to review this document then pick the right settings for hdmi_group and hdmi_mode in the config.txt file.
- Shut down the Raspberry PI and remove the microSD card and put it back in another computer.
- Remove the # signs from these two setting rows hdmi_group and hdmi_mode
- Change the numbers per the table here (see sections on hdmi_group and hdmi_mode)
- In this case, for a 1024×768 monitor the lines look like
- hdmi_group=2
- hdmi_mode=16
- You also have to take it out of HDMI safe mode that was turned on in step 4 AND enable HDMI_Force_Hotplug resulting in lines that look like this
- #hdmi_safe=1
- hdmi_force_hotplug=1
Please Note
- Most HDMI to VGA converters do not work with Raspberry PI. Use the one above or make sure from this PI site it will work and could break the Raspberry PI.
- A cheap HDMI monitor may be as low as $60. Still more expensive than a $15 adapter but it is likely to be larger.

PI running full 1024×768 resolution